 |
 |
 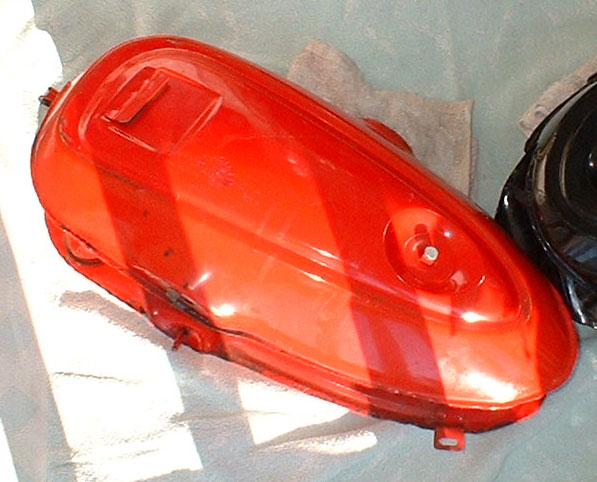 Gas tanks curing in the sun 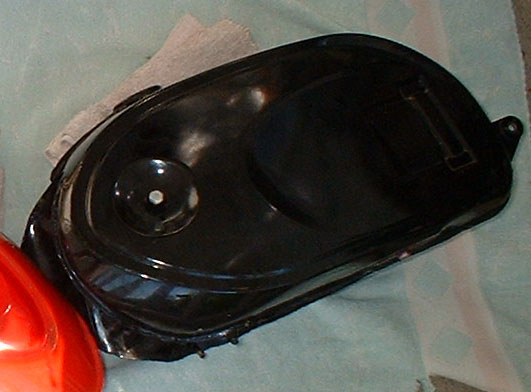 |
BARNEY’S JOURNAL
|
|
|
|
|
|
|
|
Gas tanks curing in the sun |
|
|
|
|
|
|
Remember eBay Item 110240651427? 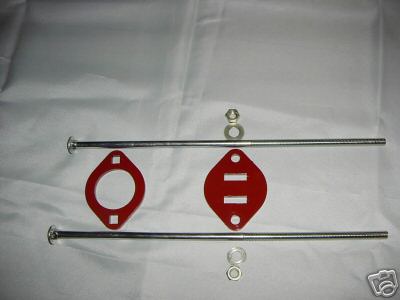 It has a perfect opening for the top of the S90 rear shock absorbers (C200 too!). The two carriage bolts are just long enough. They happen to be 3/8" x 16 standard US thread. I believe these bolts and nuts are available at HomeDepot, Lowe's, etc. The two Honda scarlet powder coated pieces are the magic! So I dremel'd out the middle with two straight cuts. It turns out that this may not have been neccessary! But I couldn't foresee that then, having never taken a shock absorber apart. 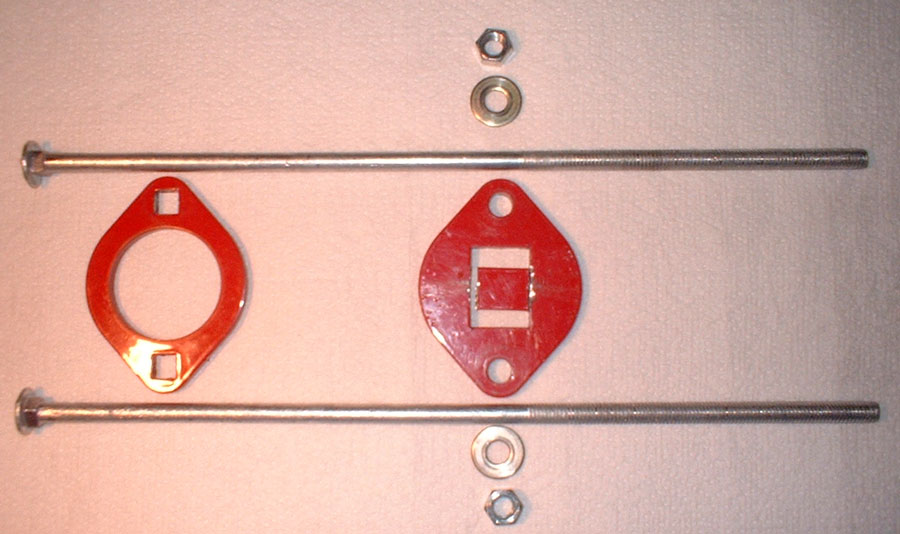 I knew about the "infamous shock tool" in the Yahoo Honda S90 files section :-) 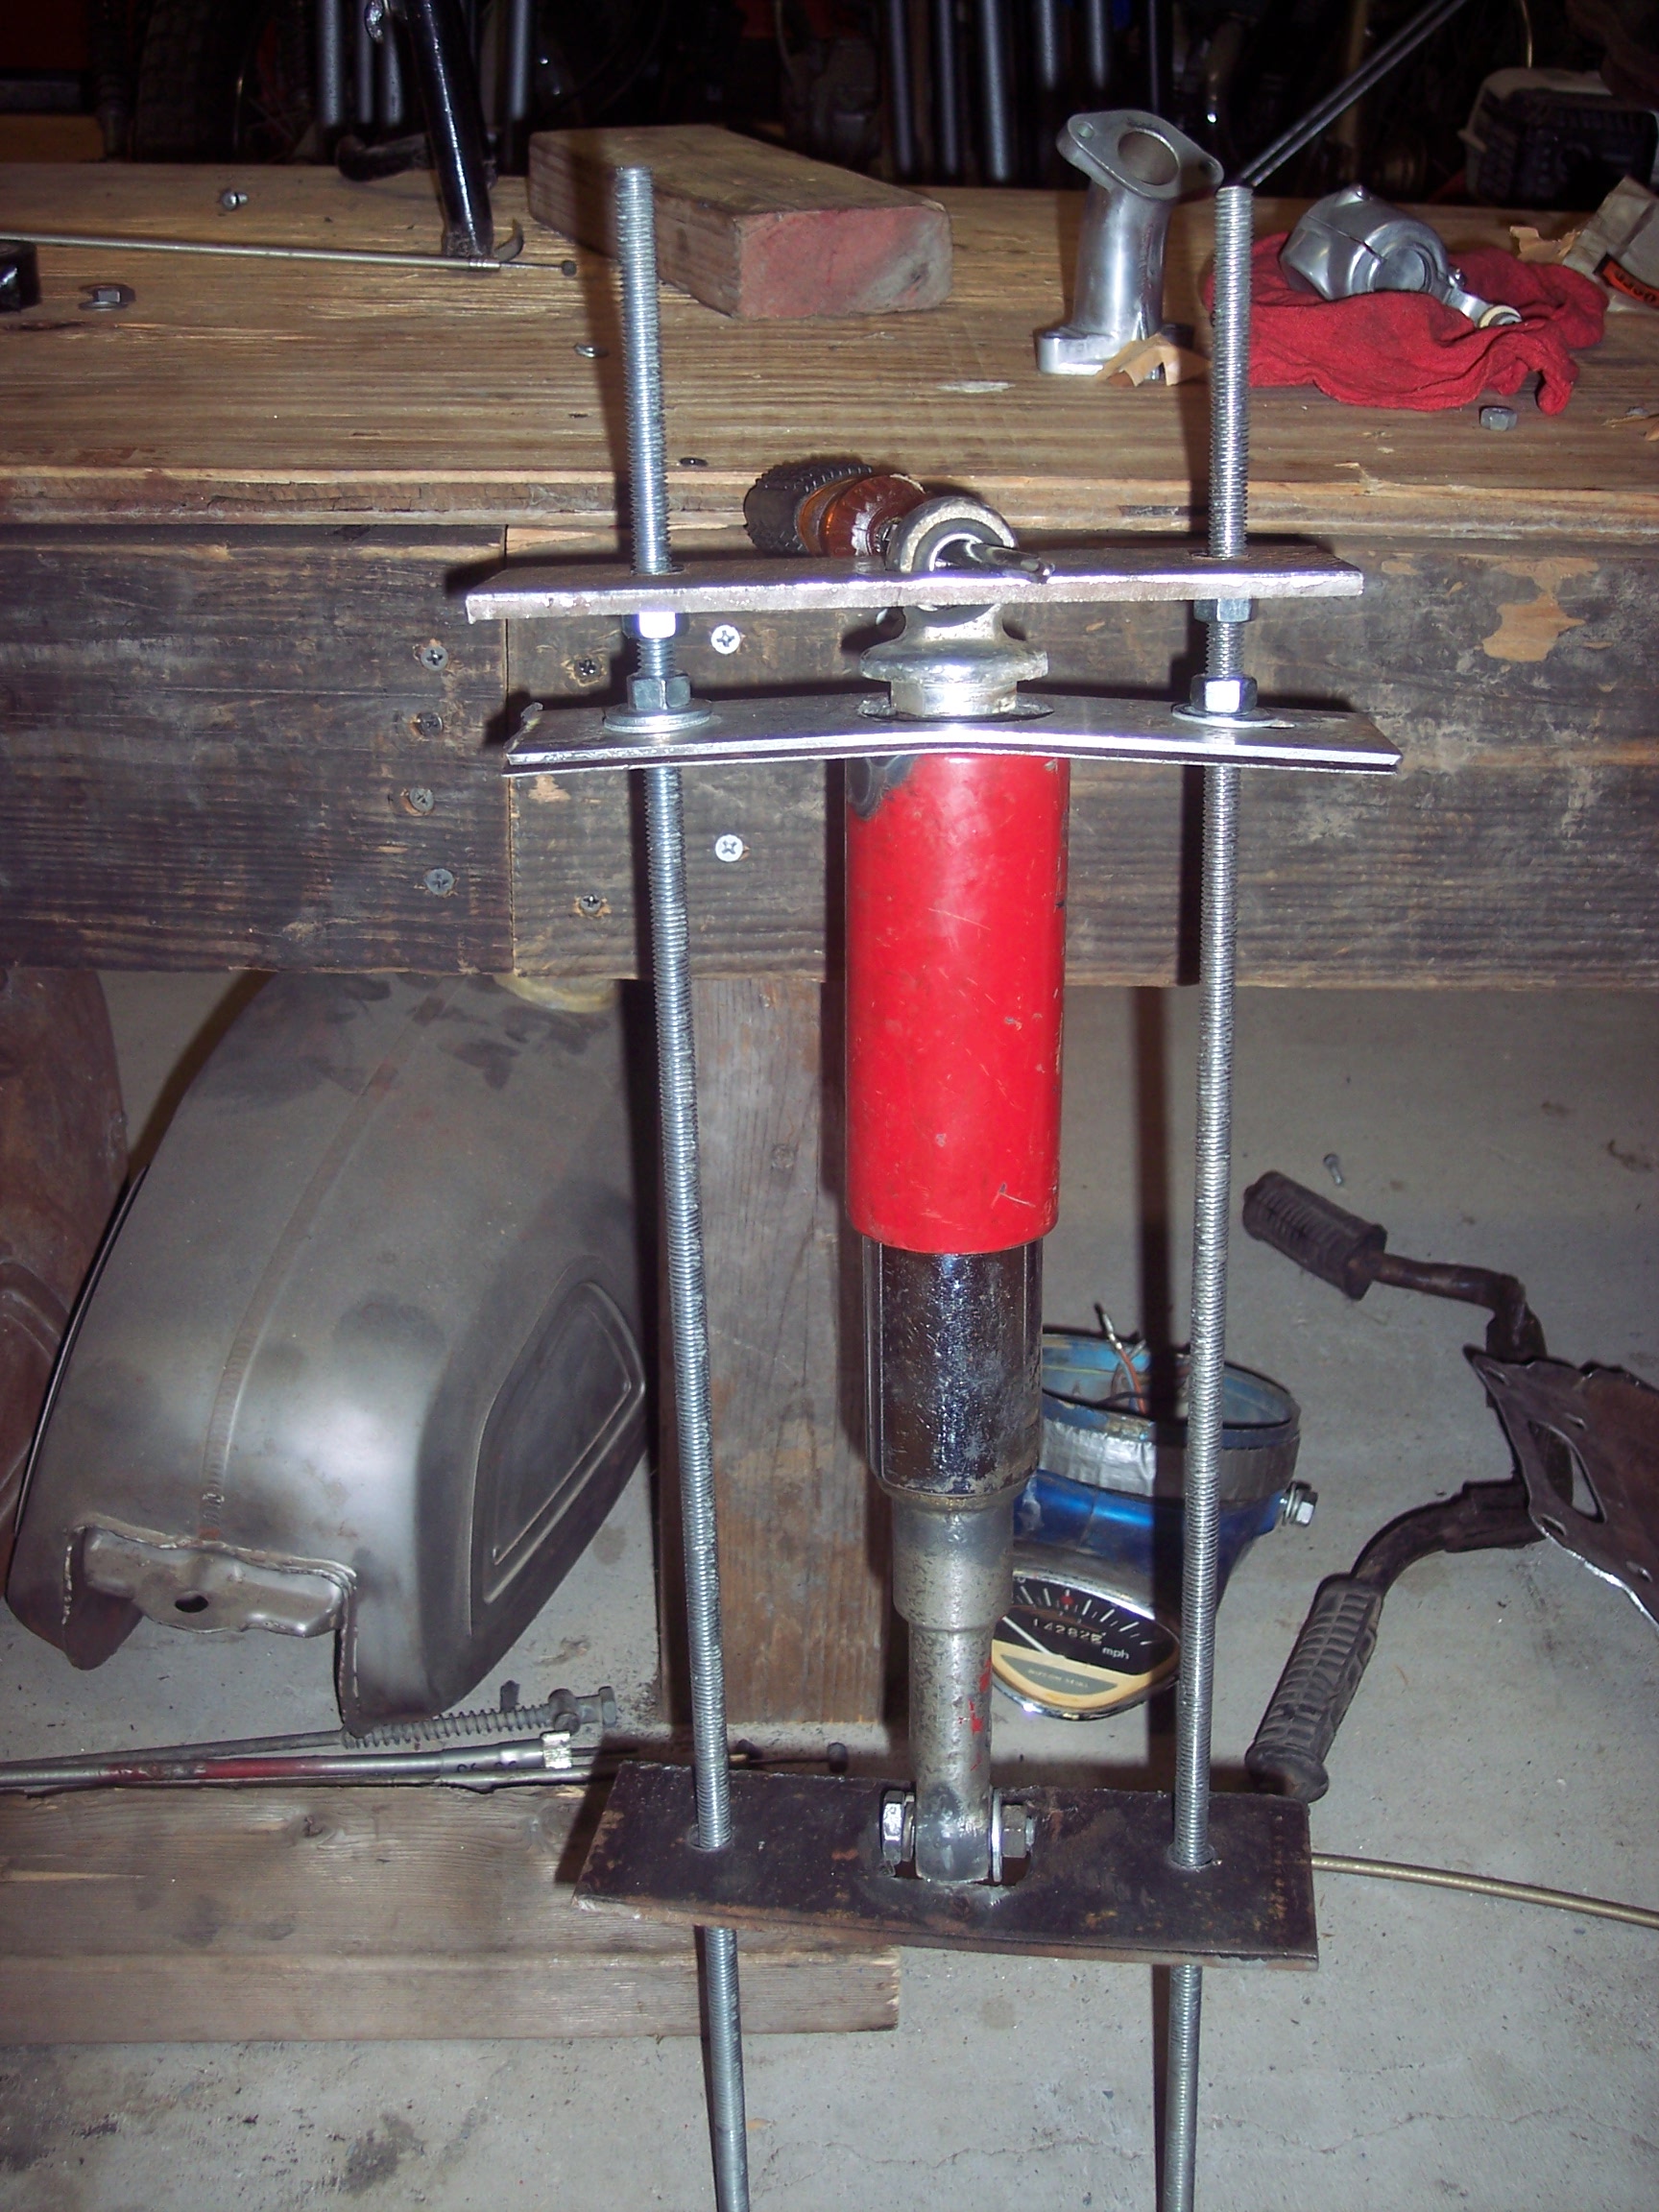 And I saw the pictures such as Fig 4.78 on page 102 of the S90 shop manual, but had never actually seen it done. 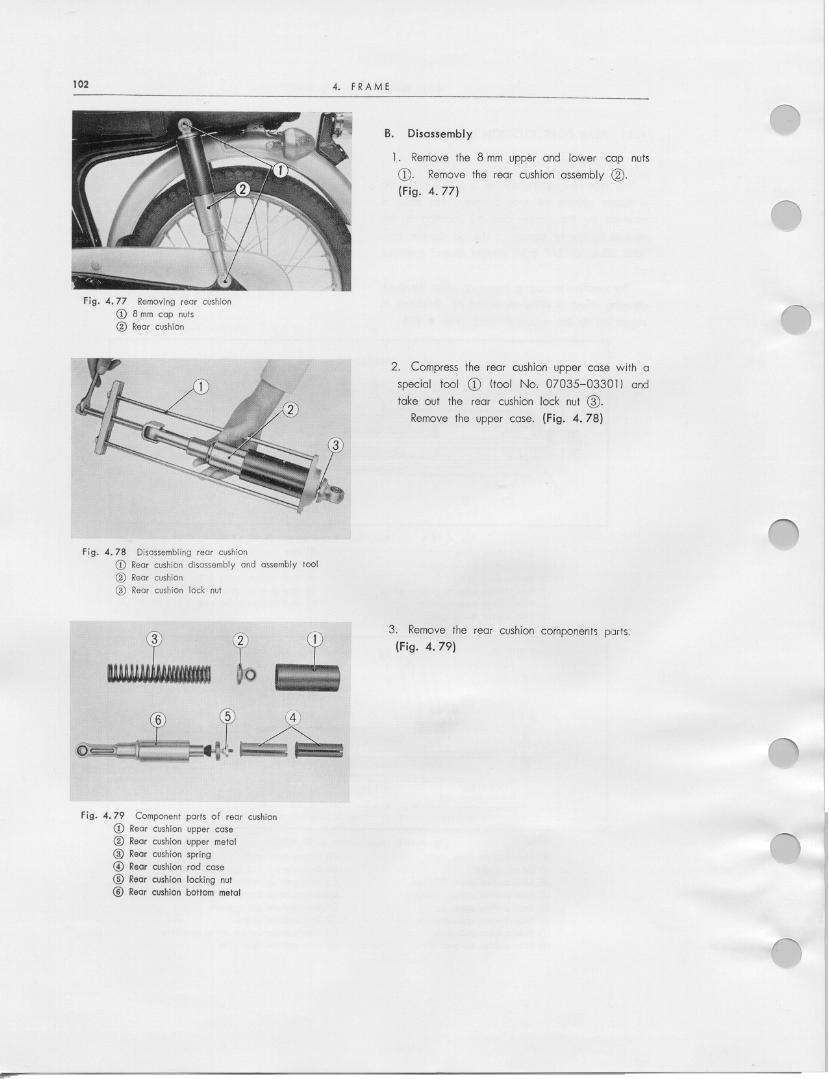 Looks like a dangerous tool! Compressing the shock freeing the top metal, by keeping the bottom straight seems risky at best? I wouldn't put my left hand there :-) First off, the carriage bolts didn't fit in the square openings! 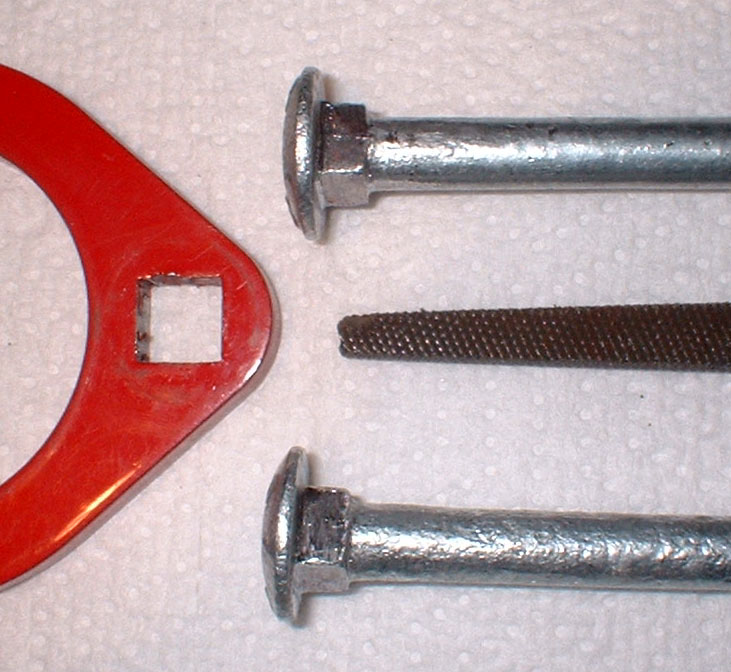 So you get your straight file and go to work on the carriage bolts, just a little bit on each. Much easier and safer than trying to widen the square holes :-) Now they fit. 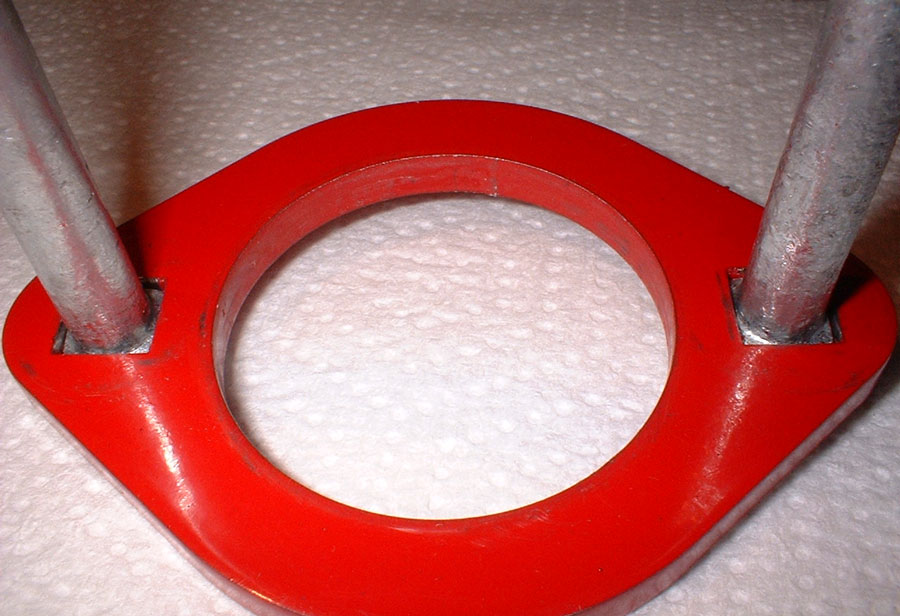 A better view from the other side. 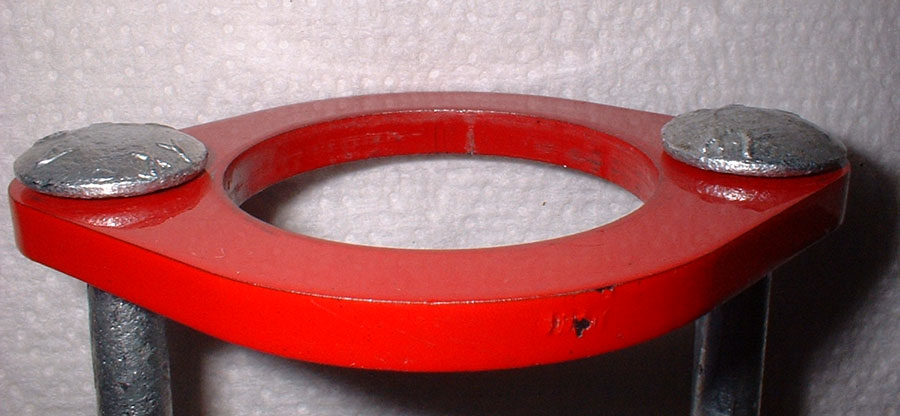 So first, in goes one of Barney's rear shocks. 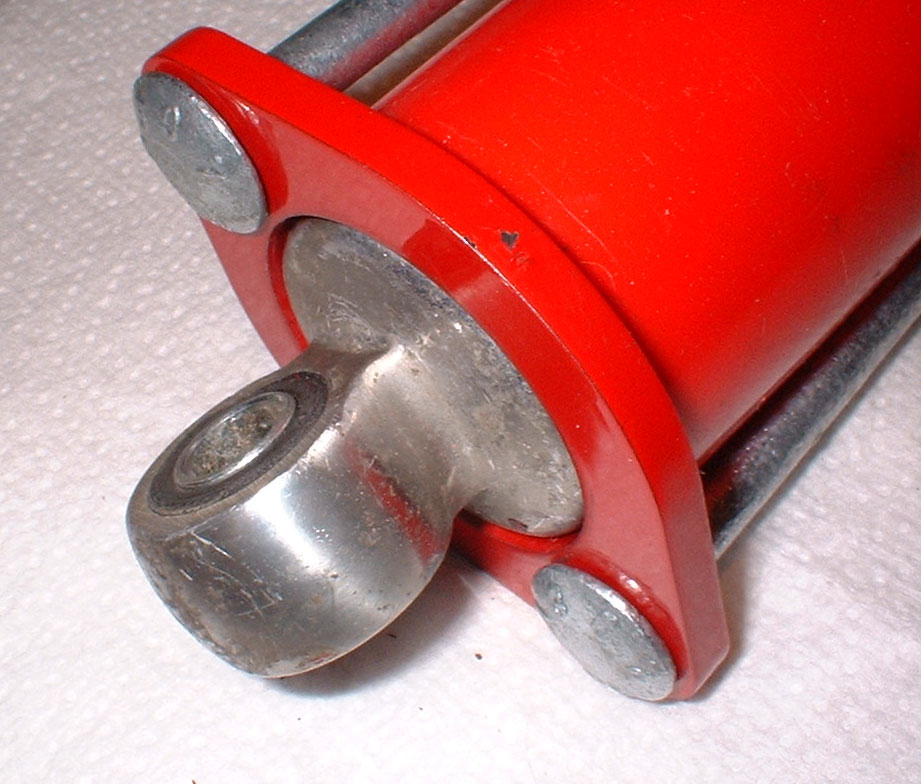 This is the business end where all the action is. 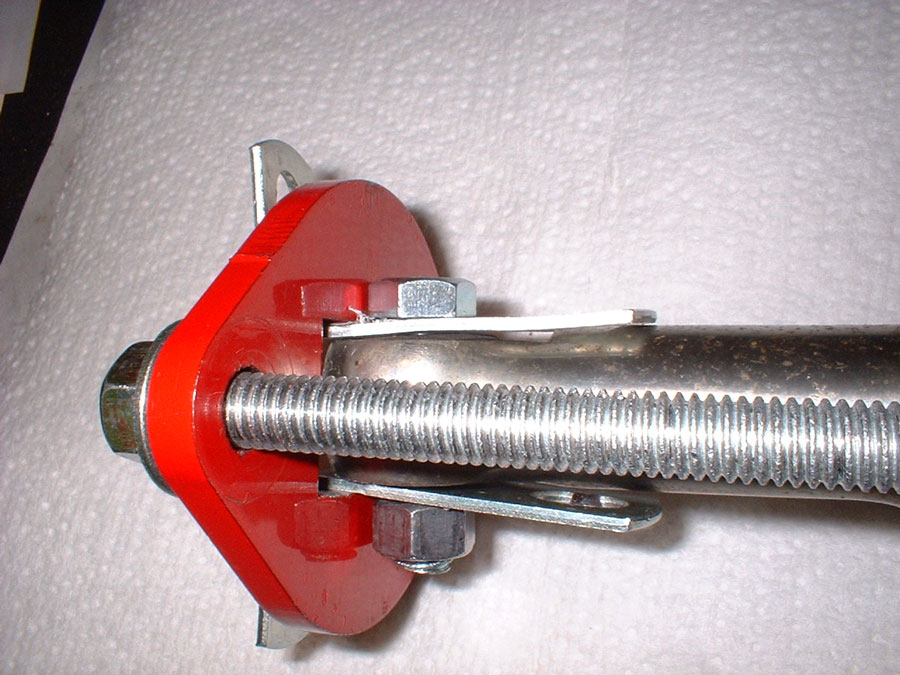 I need to compress the shock so as to expose the "top metal" and its lock nut. This seems a safer way to go than supporting at three points as in the infamous shock tool. I say this since one has to loosen the top support anyway to take it off. 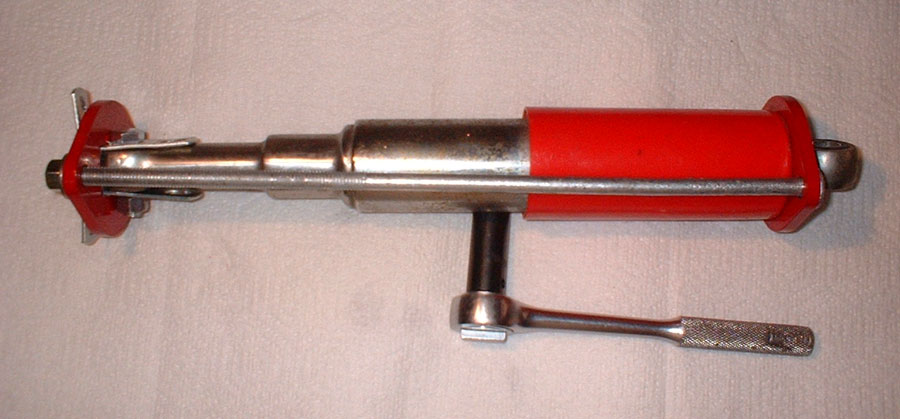 I am supporting and holding the bottom captive so that it is safe to compress the shock against the (red) top cover. One only has to compress it about an inch or so. Another view of the business end. I bought two $0.69 flat plates at Ace Hardware, actually made for U bolts. These are for clamping pipes, such as antenna masts, auto exhaust pipes, etc. to other things. I bent them 90 degrees, by hand, and used a 3/8" x 16 short carriage bolt to hold it in place. 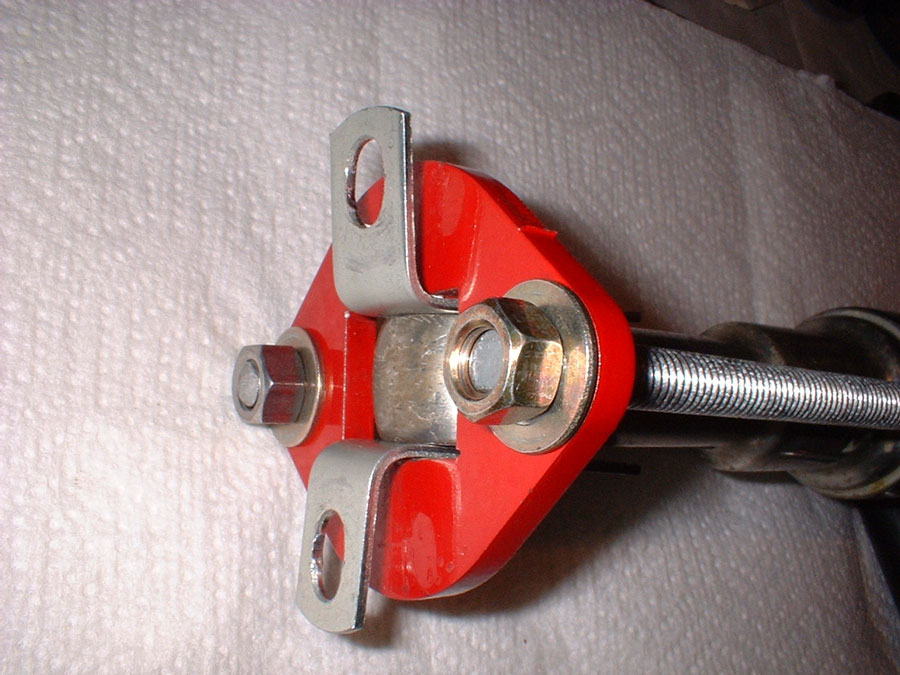 All that is left is to turn down each nut. This will compress the shock about 1" or so. 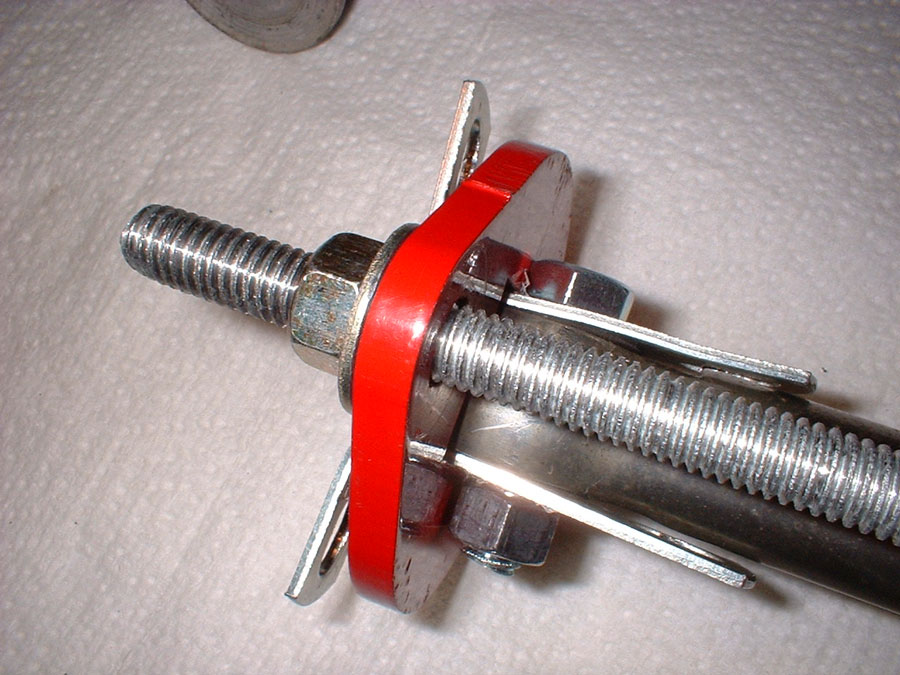 Done. The nut locking the "top metal" - as it is called - is exposed. 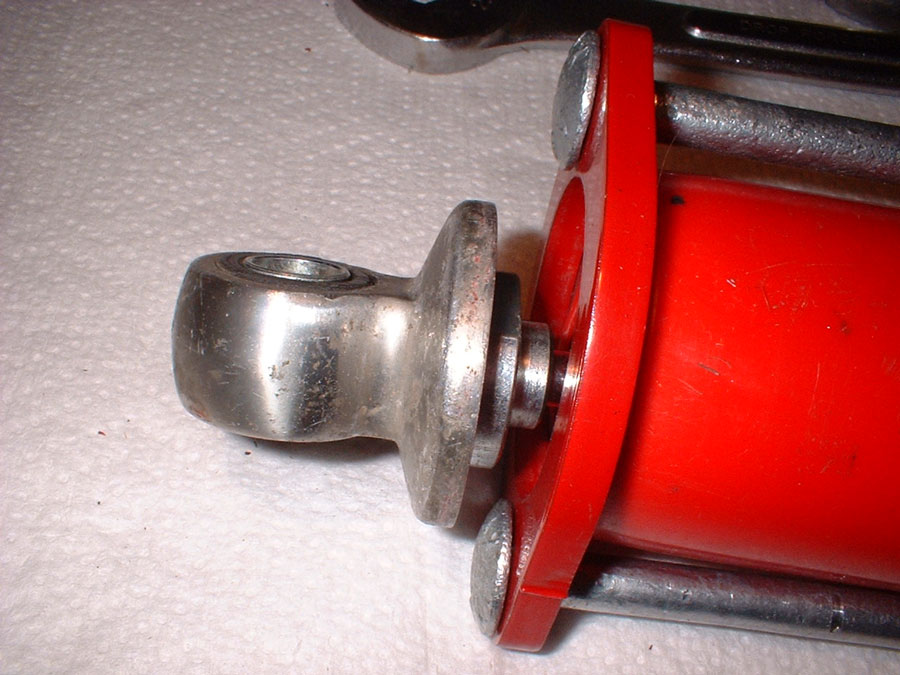 Now, I can get a 24 or 23mm (?) open end wrench in there. 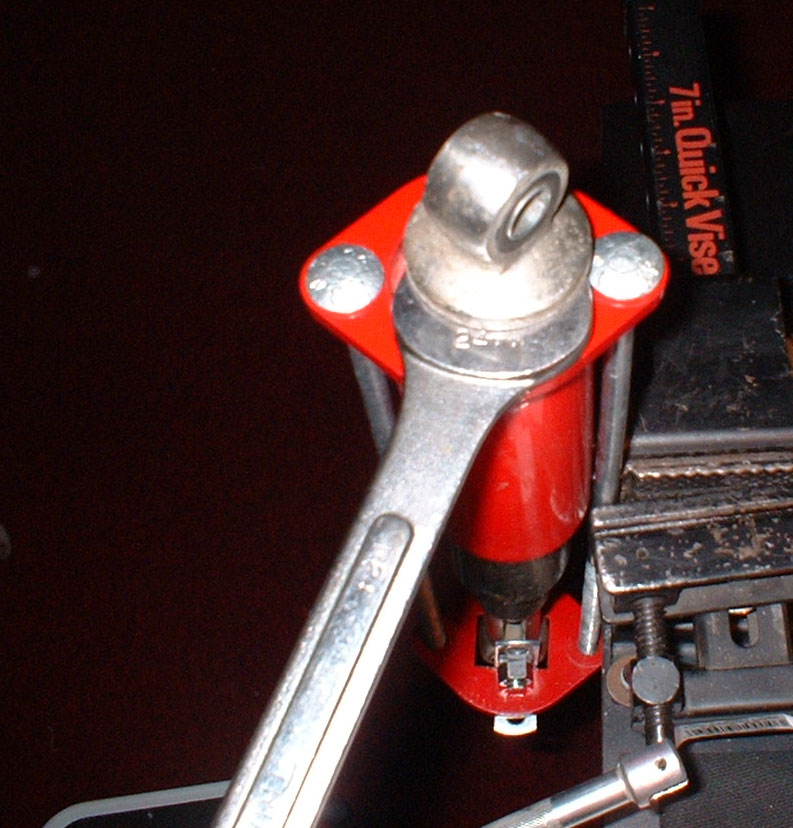 And an adjustable on the top metal, so that I can unlock them from each other. 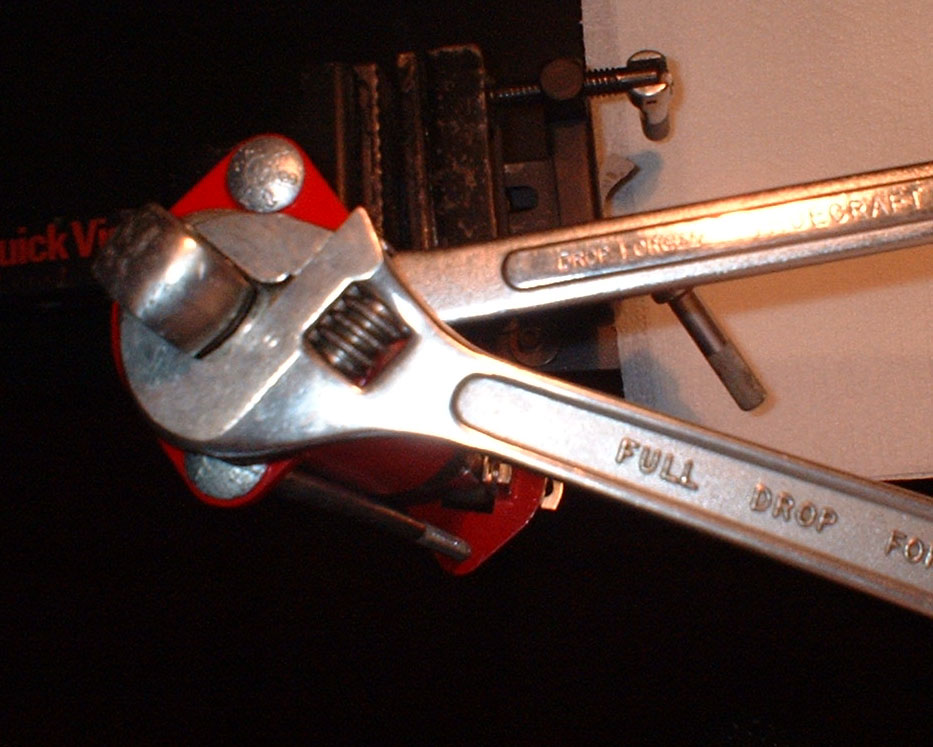 And finally, it is off! 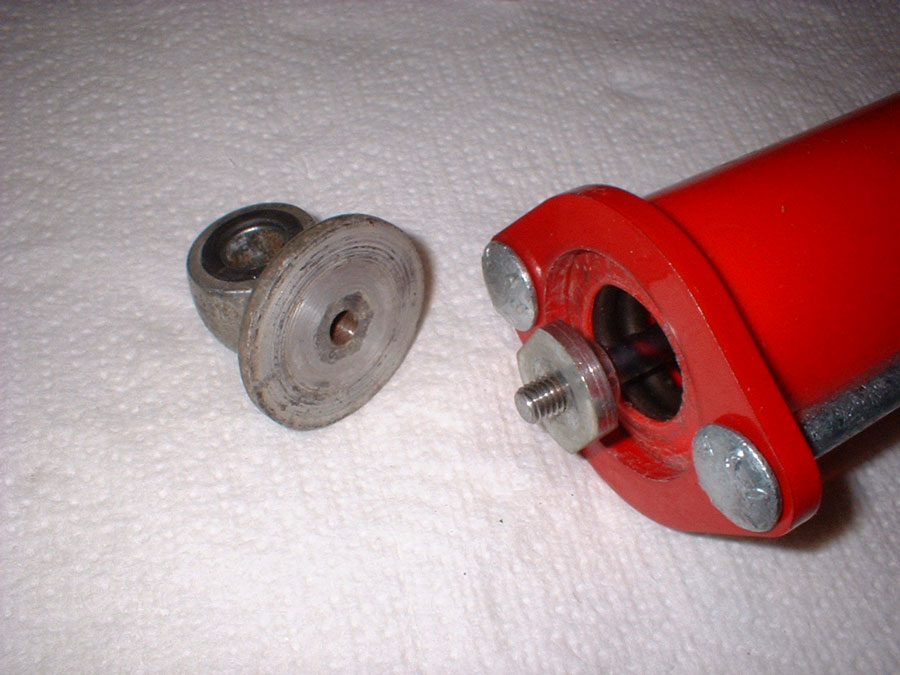 So I can finally see what is inside. All that's left is to loosen the two nuts of the tool, remove the top metal and its nut, and the all the parts can be removed. 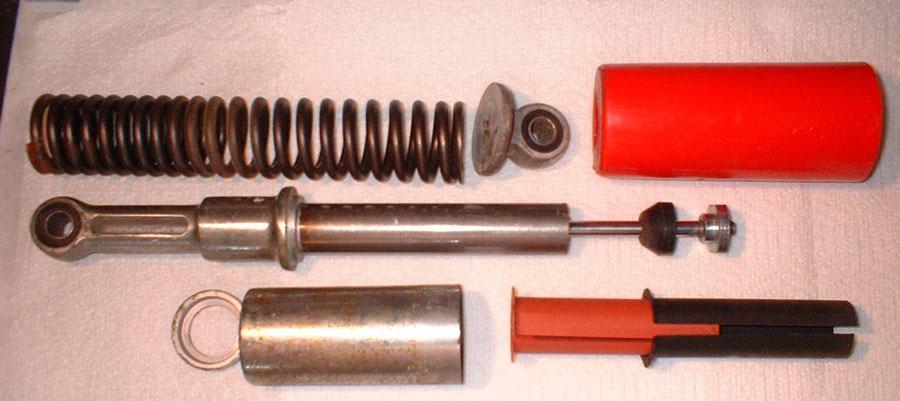 Well, this is what the pieces look like. Much like the Fig. 4.79 above in the shop manual. 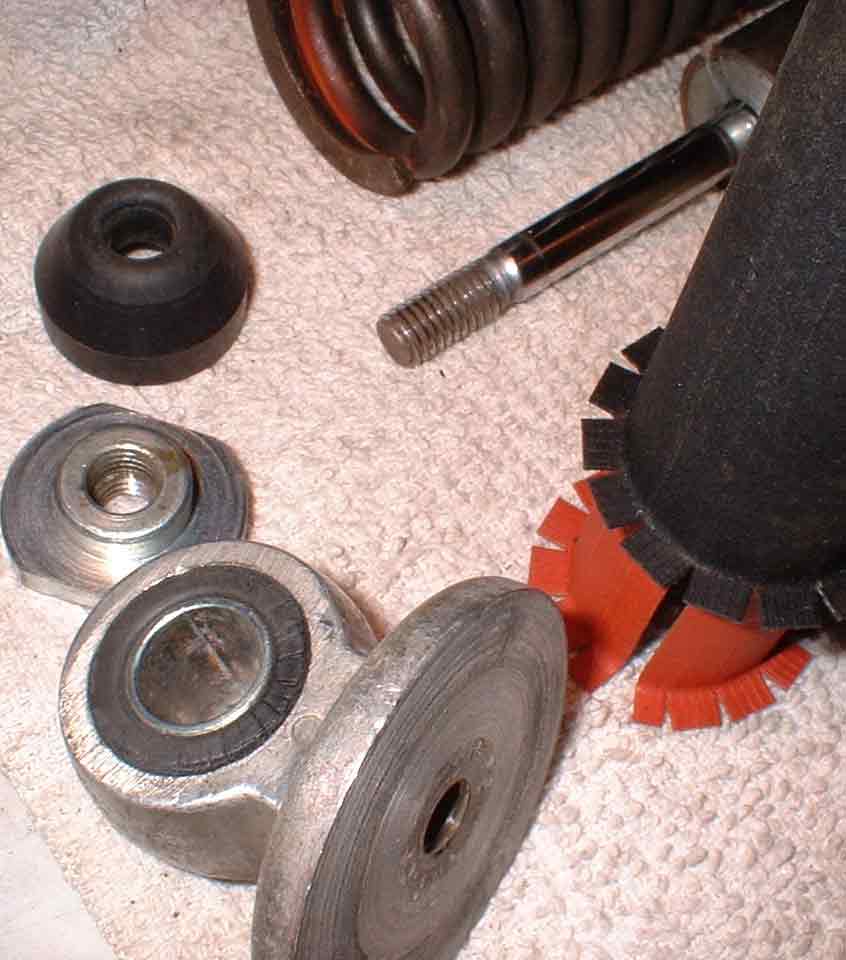 Just some close-ups. 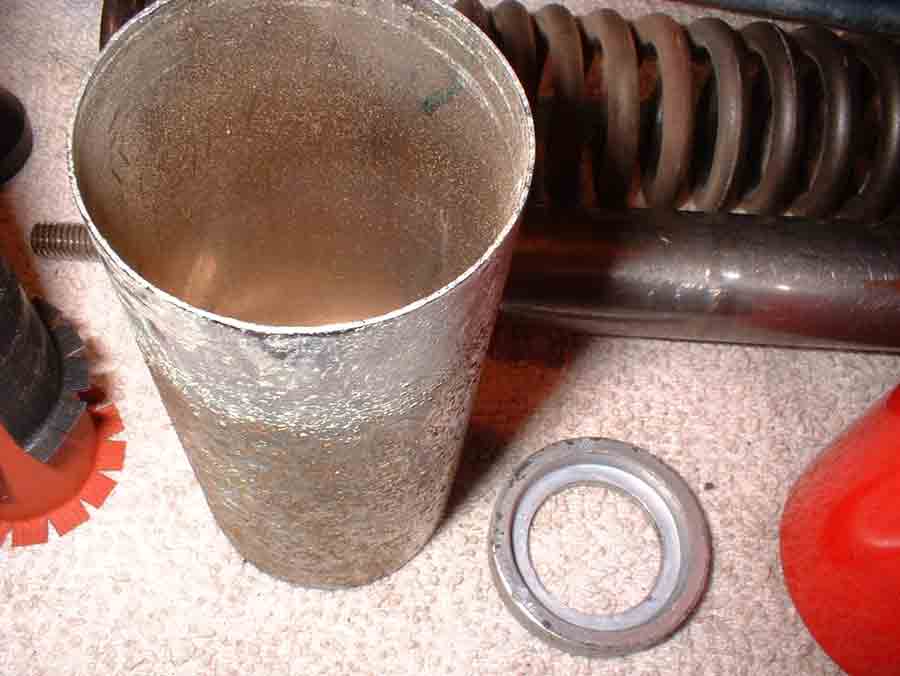 The spring length doesn't match the shop manual? Mine are longer! 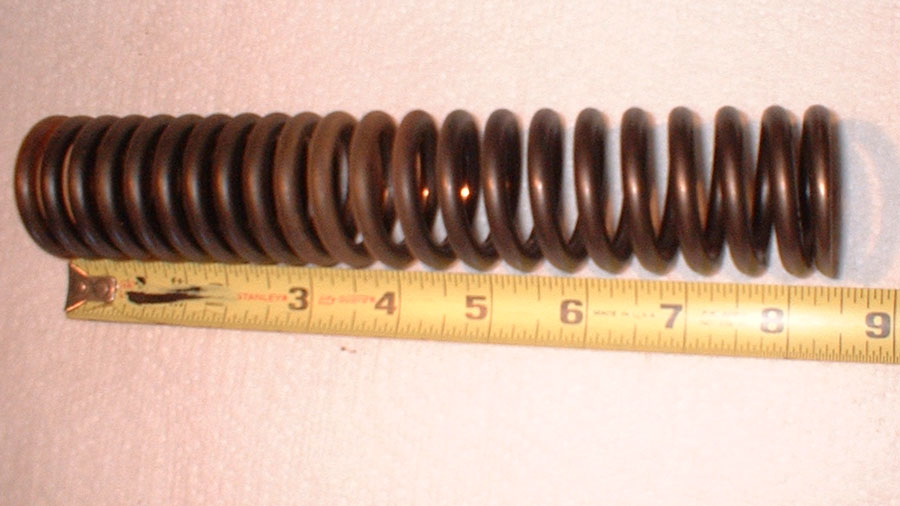 Finally the plastic cover tube.  Things don't look too bad for 42 years old! Actually the action of the shock seems OK? I will know for sure when I ride it over the first bump. The eyelet center to center length is about 13.5". I wonder if that is normal? Are there any S90 experts with new shocks out there that can tell me if mine are OK? I will try to clean the metal parts now that I can take them apart easily. |
![[Up Arrow Graphic]](arrowup.gif)
